As I begin the build my gut instinct is to just dive in, nevertheless, I am going to hold that in check as I am entering totally new territory here. With this in mind, step one is to get the radiators in place and establish a frame of reference in my mind for how I need to place the pump and tubing.
The dual radiator system I have chosen is designed to allow my system to run virtually silent even under load. At the front of the case I will place the 360mm radiator, which the fans will push air through as intake. The 240mm radiator will go at the top of the case and its fans will push air out as exhaust.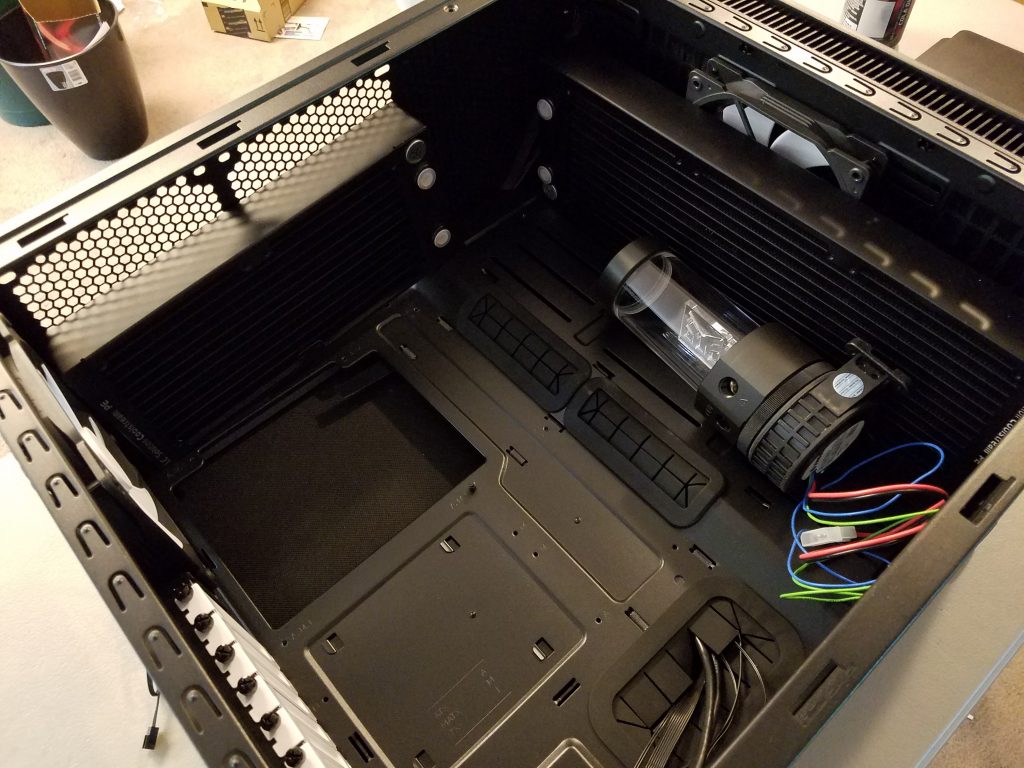
The pump/res provided by EKWB has intake and output ports at the bottom. Now, I had considered doing the intake through the top of the resbut, as that’s where I need to fill it, it’s probably not the best idea.
In order to have easy access for filling, I want the top of the res close to the top of the case so that it’s a simple matter of removing the vent cover. This will also shorten the tubing runs I need to do. Thankfully, the Define S case Fractal sent me has some really nice pump/res mounting options that will let me make this build work in a number of ways.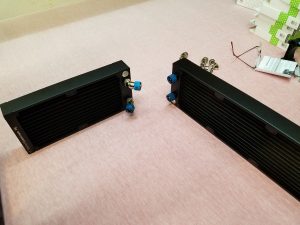
Getting down to the base build, I am amazed at how easy the actual process is. I’ve got to tell you that this is not as easy as a regular computer build, but the folks at EKWB have made some really good quality parts that make the actual construction go smoothly.
Based on the initial build idea, we explored a few different fitting options for the dual radiator setup I had planned. With a number of fitting types to
work with, our options were fairly open.
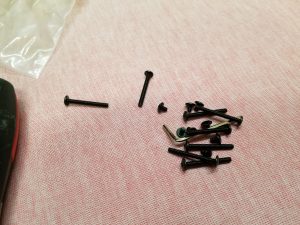 There are a lot of screws needed to build this, especially when mounting the radiators and the fans but EKWB has taken things up a notch with the accessories. Instead of Philips screws, the whole kit uses hex screws and came with the right size tool to use them. Case makers please take note – Phillips screws should be banished from the PC world.
Each radiator came with a full double set of screws. Long ones for going through the fans and short ones for just a case mount. For the front of the case, we mounted the fans so that they would push air through the radiator and into the case. The top radiator had the fans placed in such a way as to push the air through the radiator and out of the case. With 600mm of total radiator space I am pretty confident that my goal of near silent gaming, even with overclocking, is within reach.
The Define S comes with a ton of mounting options for the attachment of liquid cooling. You can fit up to 340mm radiators in the top and front. The inside front offers a great mounting solution for the placing of reservoirs as well as pumps. With a little pre-planning you can build just about anything you can imagine.
It’s when things are going so smoothly that you need to watch out. Working with Doug was time-limited as he had his own job to get to. I wasn’t helped by having to work with shoulder pain. Even though we thought we had a solid plan in place, our inexperience caught us out a couple of times. Specifically with the reservoir mount.
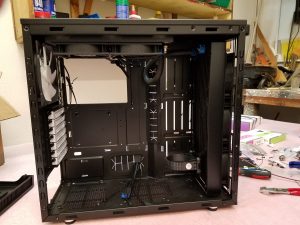 With the radiators in place it was going to be difficult to install the mounting system for the Define S. We needed to remove the front radiator which, unfortunately, is also the trickiest of the components to deal with. Luckily the guys at EKWB had thought ahead and sent their own mounting solution.
The mount we used attaches to a 120mm fan mount so we were able to utilize the inside of the radiator to attach it. I was concerned about blocking air flow but after doing a mock-up of the Define mount I realized that the effect was minimal. The best part was that we didn’t need to remount the front radiator.
Next, we installed the motherboard then connected the two radiators and the pump. Now, I know the experienced liquid cooling builders will be cringing because we did not go hard tubing, and, while I have mad respect for their skills, the flexible tubing is great to work with. However, this was our first run and we were keen to show how easy it would or wouldn’t be to do the build. In this regard, the flexible tubing is much more cooperative than hard tubing, especially if you had to move something for a minute or two because you could not reach the 8 pin PSU for the motherboard. Yes, that happened.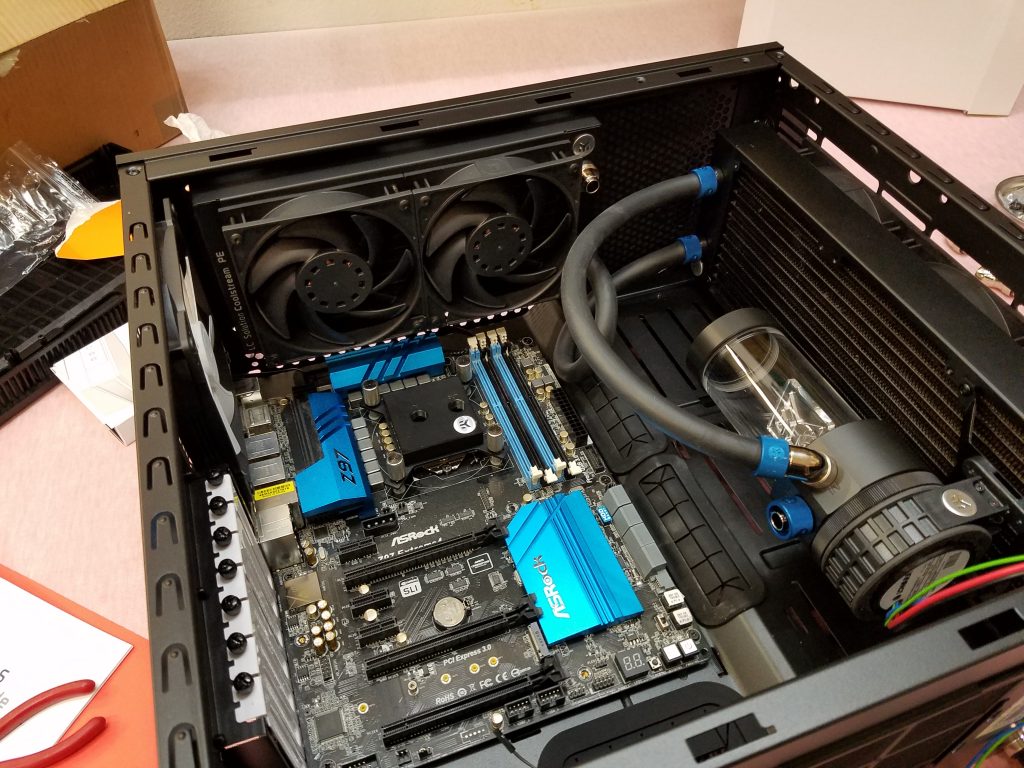
As you can see, the water block for the CPU had already been mounted – a super easy thing to do – which means that once we have the video card in we can add the fittings. First though, we need to get a feel for how we want the tubing to route.
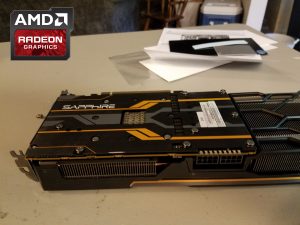
At this point we decided to turn my SAPPHIRE R9 Tri-X Fury into a water cooled beast. Because the Tri-X uses the reference PCB, which is also the same PCB as the Fury X, finding a water block was easy.
This is probably one the scariest parts of the build process for the novice. The GPU is usually the single most expensive part of higher end gaming system and this process will void your warranty and potentially damage your card.
Once you have the backplate and cooler off the card, you need to clean up the chip and other contact points, VRAM and such, before applying the water block.
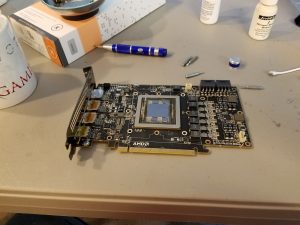 To clean the compound, I used Arctic Silver’s TIM remover.You can also use alcohol. I cleaned it as well as I could with a q-tip and then used a lint free cloth to go over it again. Applying the thermal paste to a GPU is a little different to applying it to a CPU. A pea is suggested for a CPU whereas they want an X across the GPU and a little on the memory chips as well. As for the pads for the VRMs, I did them differently to the method suggested. On the back of the block there are raised areas to make contact with the VRMs. The manual says to apply the pads to the VRMS and then put on the block. Instead I cut and applied the pads to each of the raised areas and then applied the block with the pads in place. Either way would work fine, to me this just made more sense.
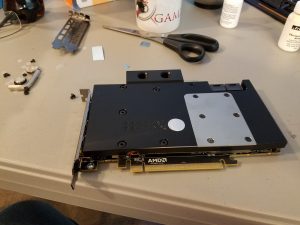 Again, with this kit, the quality of production from EKWB impressed the hell out of me. Not only do you get the block, they also included a replacement for the I/O plat, turning the card into a true single slot solution. I had hoped to use my sexy SAPPHIRE backplate to finish off the build but it would not work and I ended up using the backplate EKWB sent me.
With the video card done, the build came together quickly. We added the necessary hoses, attached the water pump to an external PSU, and began the process of filling the system and bleeding out the air. This actually took a bit of time as we have a smaller reservoir and cannot let it run dry without damaging the pump.
For this stage we used a small PSU outside the system and cycled power when the fluid got low, added more and starting it again. Once the fluid levels where steady we let it run for about 30 minutes to ensure there were no leaks. Good news, zero leaks. We then began the process of slowly tilting the case side to side as well as back and forth to move the air bubbles around and let them escape. As the air bubbles escaped the fluid levels slowly dropped and we again needed to add fluid. In all we spent about an hour on the bleeding and another hour of just letting it run to ensure no leaks or other issues.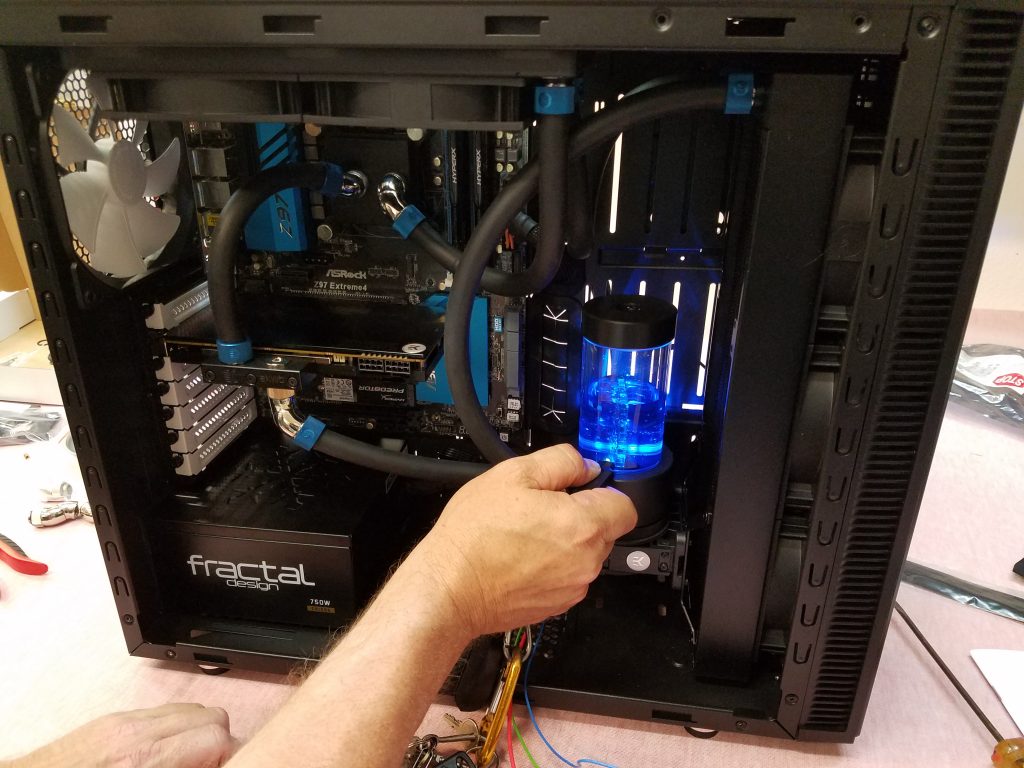
Looking at the fluid itself, there are a number of options, the one we are using is pre-mixed and was provided by EK. It has a nice blue color and is UV reactive. In the picture you can see how the fluid lights up with just a small pin light hitting it. I cannot wait to mount the UV cathode behind it and see what happens.
With the leak testing done and the system filled it is time for me to bring it home. Let’s load up the OS and see what this thing can do. Make sure to come back and read Part 3 of this series to find out how it ends. There will also be my thoughts and conclusions on custom liquid cooling.


