
From phase-change we jump right into dry ice and the coldest liquid on earth, liquid helium. Welcome to the final part of our extreme cooling series. If missed the first two installments, I’d take encourage you to give them a read first and then come back to chill here.
Dry Ice
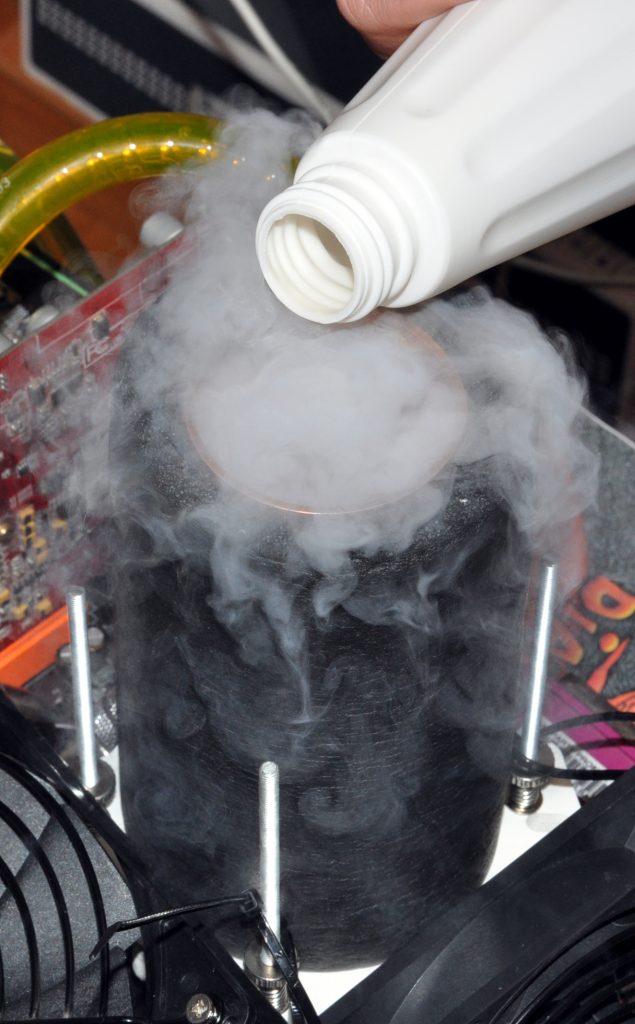
Carbon dioxide in solid form, commonly called DI (Dry Ice). It can be bought as ready-to-use granulate or as a big block that you crush up as you see fit. Stored in a styrofoam box, it unfortunately evaporates fairly quickly.
As DI evaporates, it release carbon dioxide in a gaseous state—so yeah, it is crucial to throw open the windows in the room where you’re using it. Failure to do that will lead to a CO2 concentration so high that all living creatures soon become dead ones, having passed out and suffocated.
Kind of reminiscent of liquid nitrogen, isn’t it?
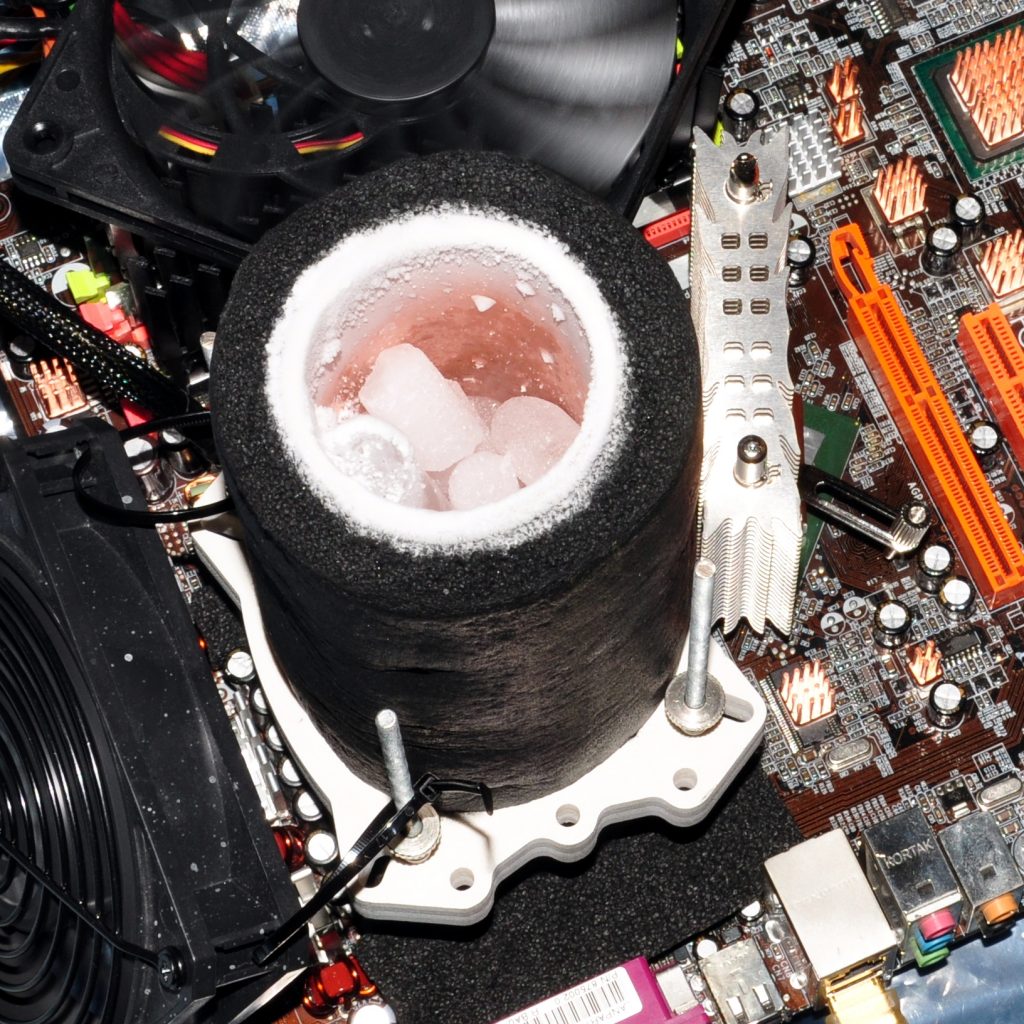
As with LN2, to cool a CPU or GPU with dry ice, a container is needed. The difference is that you put not only DI in a pot, but also a liquid to act as an aggregate. Without that liquid, DI would have too small a contact surface with the pot. It is the type of liquid used that determines the temperatures that will be achieved.
Four liquids commonly used are:
- Ethanol + DI: –72°C
- Acetone + DI: –77°C
- Isopropanol + DI: –78°C
- Diethyl Ether + DI: –100°C
Acetone is the cheapest to buy and easy to obtain, which makes it the most popular addition to dry ice. Diethyl ether provides the lowest temperatures, but is the hardest to get ahold of.
As a material, dry ice is safe to work with. You only need gloves if you want to touch it for longer than a second, which would otherwise burn the skin. Of course, you can’t ingest it and—again—under no circumstances should it be used in a tightly sealed room.
Unfortunately, there is no way to control the temperature of hardware cooled with DI. Given that some CPUs in older platforms have coldbug at temperatures higher than ~75 C, that is a distinct disadvantage. Moreover, a lot of hardware requires lower temperatures to be pushed to the limits.
DI is also not as hassle-free as phase-change cooling. While you can be a bit more carefree than with LN2, you still have to pay attention to what’s happening inside the pot during an overclocking session. Water condensation is something else you to be wary of, though it isn’t as big an issue as a session with nitrogen.
As I see it, dry ice is the best solution for novice overclockers. It is very cheap for short-term use and the equipment is also inexpensive. While good pots for LN2 cost more than 200 Euro, you can buy a used DI pot for about 25 Euro. Transportation of dry ice is also way cheaper. A styrobox will run you around 5 Euro—a far cry from the 700 Euro you’ll throw down for a bigger Dewar.
A few OC sessions wouldn’t cost much and should show if extreme OC is something you’re really into. If you are, consider switching to phase-change cooling or liquid nitrogen as soon as possible. Long-term, dry ice is much more expensive than LN2, offers many fewer cooling options and evaporates right in the styrofoam box within a few days.
To sum up, DI is a good “starter kit” with a low cost of entry for the novice overclocker (I started with it too). For long-term use, however, there are other, noticeably better solutions.
Like liquid nitrogen, dry ice has numerous applications in many fields you wouldn’t even think of. A prime example is shrink fitting steel parts to ensure a tight fit.
The upsides:
- Needed equipment is cheap
- Water condensation isn’t very intense
The downsides:
- Long-term use is expensive
- The temperatures achieved are way too high for some hardware to be pushed to the limit
- Temperatures could be too low for some hardware to operate it (coldbug)
- No optimal way to control temperatures
- It’s impossible to store for longer than a few days
Liquid Helium
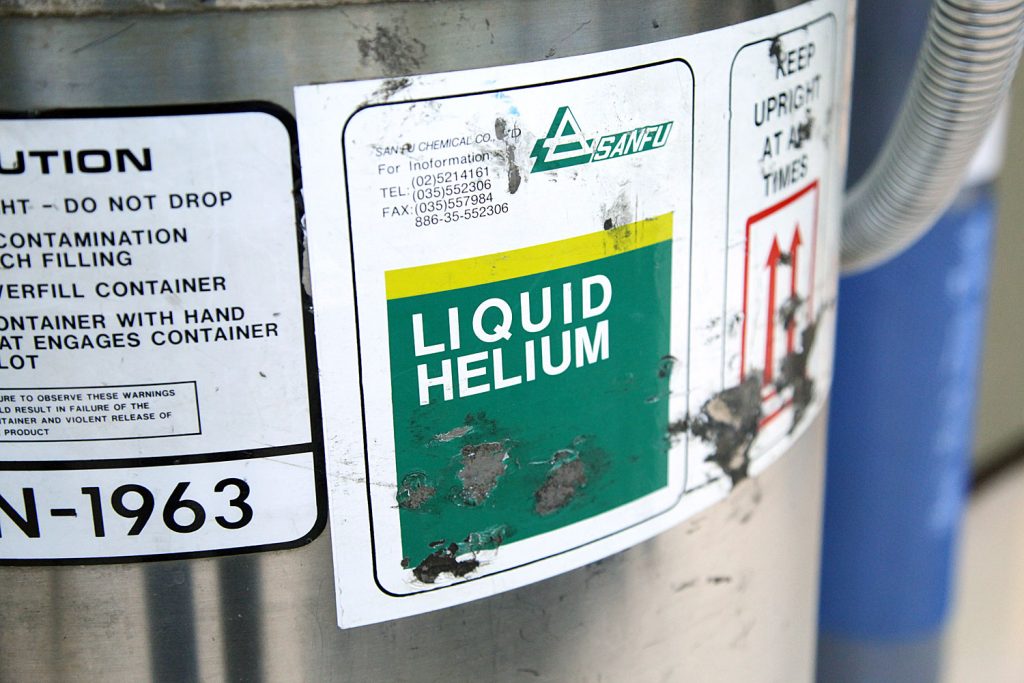
Known as LHE, liquid helium is similar to liquid nitrogen, but much cooler (-269 degrees Celsius), much more expensive, and much harder to obtain and to store.
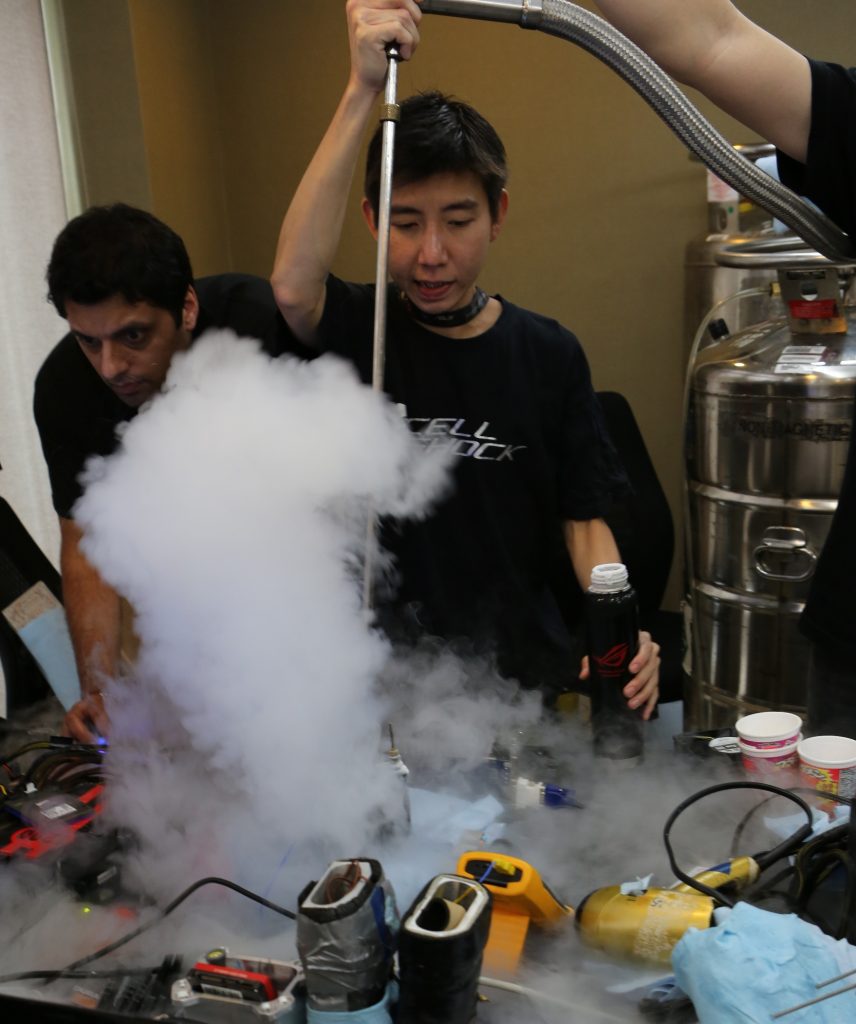
Helium is kept in a special pressurized Dewar. It could be poured into a standard LN2 pot, but as the characteristics of LHE differ somewhat from those of liquid nitrogen, it is not uncommon to see special pots used. Given its prohibitive price, liquid helium is only used during rare sponsored overclocking sessions. It is an honor for the overclocker to be invited for such a special occasion. To take full advantage of such an opportunity, only carefully selected hardware is used: that is, hardware that would benefit from such low temperatures and has strong world-record potential.
One such case that called for LHE, was breaking the CPU frequency world record at the release of AMD Bulldozer architecture, a record you’ll find acknowledged in the Guiness Book of World Records.
8,4 GHz achieved on AMD FX CPU using LHE
Liquid Helium is mainly used in laboratories when a project calls for particles to be slowed down, a state which enables a variety of interesting experiments.
Fun fact: Fiddling with isotopes of helium can actually achieve temperatures south of -269 C. See the following video for a lecture on how it’s done.
The upsides:
- Nothing else can provide lower hardware temperatures – helpful for world records
- If you use it, there is a special achievement on HWBot
- Literally the coolest thing on earth
The downsides:
- Absurdly expensive
- Very hard to get ahold of
- Requires special storage
- Not all hardware benefits from such low temperatures
- Very intense water condensation
TEC
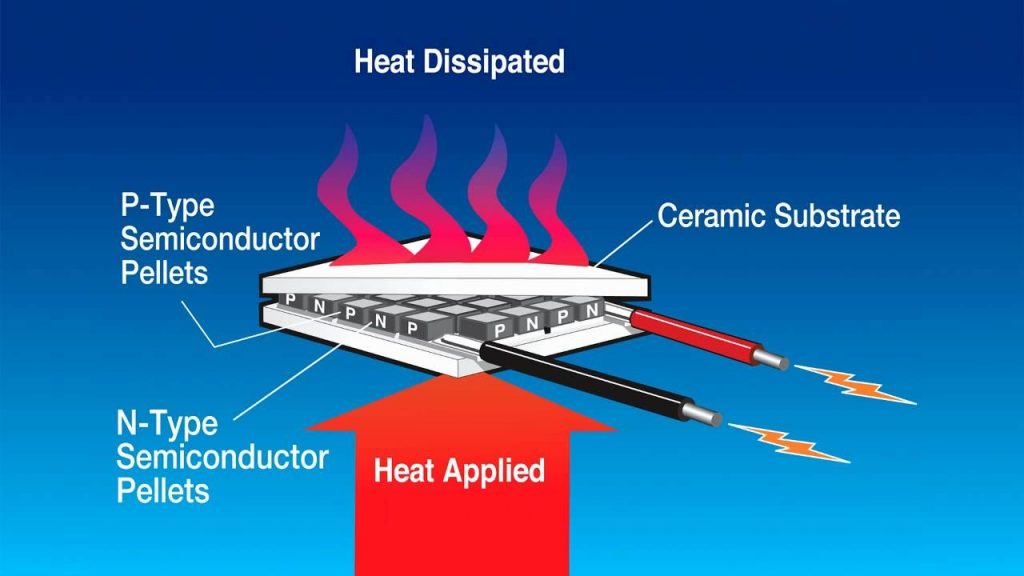
Thermoelectric cooling is based on Peltier effect, hence it is often named Peltier.
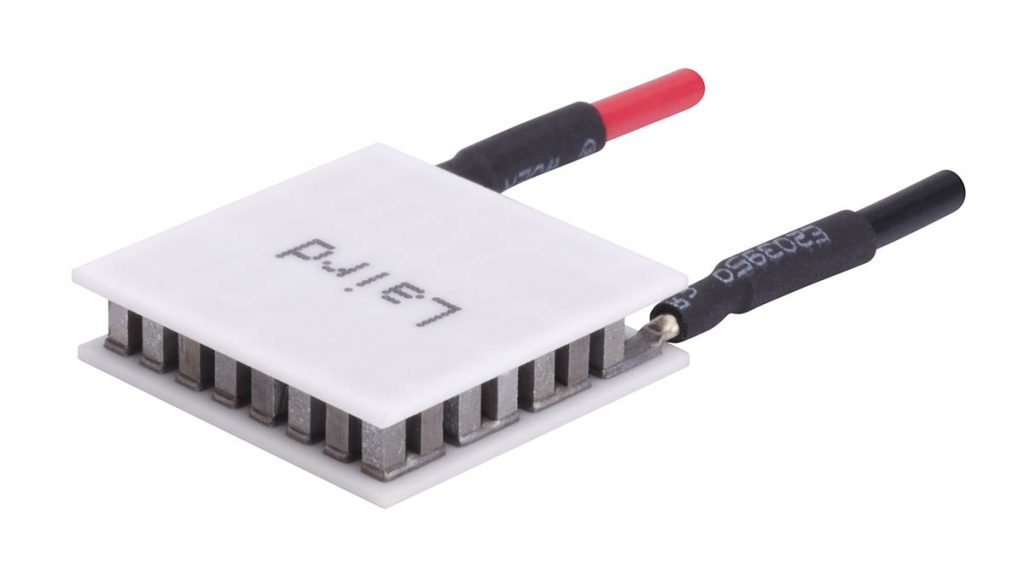
On the outside the unit is a ceramic plate with cables attached. In a nutshell, when you apply voltage to cables, one side of the plate gets cold and one gets hot. The value that describes how much electric energy TEC consumes also indicates how much thermal energy it can “absorb” on the cold side.
As you can imagine, it is a rather ineffective method of cooling. To cool a chip that generates 80 W of heat you need ~100 W of TEC. And using such a configuration means that you have in total about 180 W of heat to dissipate on the hot side of the TEC.
Bear in mind, TEC isn’t technically itself a means of cooling, but is more a booster. To cool something with TEC, you have to cool the hot side of the TEC’s plate, a task that usually goes to watercooling.
TEC can operate in a fixed range of voltages (usually up to 15 V DC). If you have a power supply with a manually regulated voltage output, you can control the TEC. The higher the voltage you apply, the more electric energy the TEC will consume. But in this process the more heat it would be capable of transferring. This means that to some extent you can control the temperature of the chip you are cooling with a TEC.
Peltier cooling had its 15 minutes in the era of the Pentium III/AMD K7 processors, but it never took off. Thermaltake SubZero 4G is a prime example of problems that can be encountered with Peltier cooling. TEC has to be capable of transferring all heat from the chip and the cooling of the TEC itself has to be efficient.
Just to put things into better perspective: When CPUs and GPUs had small TDPs, cooling was not such a big problem. But when a GPU at stock settings can “produce” over 250 W in the form of heat, imagine the prospect of cooling such a thing with a TEC if you overclocked the GPU. A TEC that consumes 500 W of electric energy and generates well over 800 W of heat: One breaks out in a sweat just thinking about it.
One of a few examples of TEC implemented properly is a special cooling module for RAM sticks made by Corsair. Because RAM generates a rather small amount of heat, this project wasn’t doomed to fail.
It is rather hard to obtain very low sub-ambient temperatures using Peltier module. Water condensation is not such an issue, so TEC is quite suitable for daily usage.
To sum up: I cannot recommend TEC for most PC appliances. There are much better ways to cool your hardware.
Fun fact 1: TECs are used to enhance capabilities of cameras used for astrophotography. Here you can read a worklog explaining the concept.
Fun fact 2: The Seebeck effect is the inverse of the Peltier effect – temperature differences are used to produce electricity.
The upsides:
- Cheap to use – you only pay for electricity
- You can control temperatures to an extent
- Can be used on a daily basis
- Good for hardware with very low TDP
The downsides:
- Rather ineffective
- Twice the heat the chip generates has to be dissipated as outcome
- Pointless (or at least ridiculous) for hardware with high TDP
Other possibilities
In theory, some other methods of cooling should work, but, being unprofitable and/or too dangerous, they aren’t used. Liquid oxygen is a prime example, and is inferior to liquid nitrogen in every way, as it:
- is more expensive,
- is harder to obtain,
- has higher boiling point (-183 Celsius, so you could say that it is …hotter than liquid nitrogen),
- is deadly dangerous – when you work with it, only one unintentional spark could result in a fireball big enough to destroy your hardware and kill you.
I often come across ideas like putting one’s PC into a refrigerator. That wouldn’t work, of course, as fridges aren’t designed to handle such tasks.
This is well documented in one of the episodes of LinusTechTips.
Conclusion
For absolute beginners, I recommend dry ice. For more advanced overclockers, liquid nitrogen’s the thing: it isn’t as dangerous as most people think—if it is handled properly.
Phase-change cooling is somewhere in between, but I see it more as a solution for those who don’t want nitrogen. Or for nitrogen users with old hardware that would take too much time to bench under LN2.
Here are three of the most important principles when it comes to working with low temperatures:
- Common sense is extremely important
- Don’t touch very cold metals with your bare hands
- Listen to more experienced users
May your clocks be high and your temperatures low!





.ashx?h=150&w=150&la=en&hash=07BDB2435D3CF6EEA377A88FC77D1BCA52D2B57E)


